

Tie rod ends are crucial components in a vehicle's steering system, connecting the steering rack or linkage to the steering knuckle. Over time, tie rod ends can wear out due to constant use, road conditions, and normal wear and tear. When this happens, replacing them becomes necessary to ensure proper steering performance and vehicle safety. As a reliable tie rod end supplier, we understand the importance of a smooth replacement process. In this blog, we'll walk you through the steps involved in tie rod end replacement.
Step 1: Gather the Necessary Tools and Materials
Before you start the replacement process, it's essential to have all the tools and materials you need on hand. Here's a list of the basic tools you'll likely require:
- Socket and wrench set
- Tie rod end puller
- Ball joint separator
- Torque wrench
- New tie rod ends (make sure they are compatible with your vehicle's make and model)
- Grease
- Penetrating oil
Having these tools ready will save you time and frustration during the replacement process.
Step 2: Prepare the Vehicle
Park your vehicle on a flat, stable surface and engage the parking brake. If possible, use wheel chocks to prevent the vehicle from rolling. Loosen the lug nuts on the wheel where you'll be replacing the tie rod end, but don't remove them completely yet. Then, use a jack to lift the vehicle until the wheel is about 6 - 8 inches off the ground. Place jack stands under the vehicle's frame for additional support and lower the vehicle onto the jack stands. Finally, remove the lug nuts and take off the wheel.
Step 3: Locate the Tie Rod End
The tie rod end is typically located near the steering knuckle. It connects the steering linkage to the wheel assembly. You may need to clean the area around the tie rod end with a rag or a wire brush to get a better view and access. Take note of the position and orientation of the old tie rod end before proceeding with the removal.
Step 4: Remove the Cotter Pin and Nut
Most tie rod ends are secured with a cotter pin and a nut. Use a pair of pliers to remove the cotter pin. Then, use a socket or wrench to loosen and remove the nut. If the nut is stuck, you can apply some penetrating oil and let it sit for a few minutes to help loosen it up.
Step 5: Separate the Tie Rod End from the Steering Knuckle
Once the nut is removed, you'll need to separate the tie rod end from the steering knuckle. This can be done using a tie rod end puller or a ball joint separator. Place the tool around the tie rod end and the steering knuckle and follow the manufacturer's instructions to apply pressure and separate the two components. Be careful not to damage the steering knuckle or other surrounding parts during this process.
Step 6: Remove the Old Tie Rod End
After separating the tie rod end from the steering knuckle, you'll need to remove the old tie rod end from the steering linkage. This may involve using a socket or wrench to loosen and remove a jam nut or a lock nut. Once the nuts are removed, you can usually unscrew the old tie rod end from the steering linkage. If it's difficult to turn, you can use a pipe wrench or a strap wrench for extra leverage.
Step 7: Measure the Tie Rod
Before installing the new tie rod end, it's a good idea to measure the length of the old tie rod. This will help you ensure that the new tie rod end is installed at the correct length, which is crucial for proper steering alignment. Use a tape measure to measure the distance between the center of the ball joint on the tie rod end and the point where it attaches to the steering linkage. Make a note of this measurement.
Step 8: Install the New Tie Rod End
Apply a thin layer of grease to the threads of the new tie rod end. Then, screw the new tie rod end into the steering linkage until it reaches the same length as the old tie rod end. Make sure the tie rod end is tightened securely, but don't over - tighten it. You can refer to your vehicle's service manual for the recommended torque specifications.
Step 9: Reconnect the Tie Rod End to the Steering Knuckle
Place the new tie rod end into the steering knuckle and insert the new nut. Tighten the nut by hand as much as possible. Then, use a torque wrench to tighten the nut to the manufacturer's recommended torque. After tightening the nut, insert a new cotter pin through the hole in the tie rod end and the nut and bend the ends of the cotter pin to secure it in place.
Step 10: Grease the Tie Rod End
Most tie rod ends have a grease fitting. Use a grease gun to pump grease into the tie rod end until fresh grease starts to come out around the edges. This will help lubricate the joint and prevent premature wear.

Step 11: Reinstall the Wheel
Place the wheel back onto the wheel hub and hand - tighten the lug nuts. Then, use a torque wrench to tighten the lug nuts to the manufacturer's recommended torque. Make sure to tighten the lug nuts in a star pattern to ensure even tightening.
Step 12: Lower the Vehicle
Use the jack to lift the vehicle slightly off the jack stands and remove the jack stands. Then, slowly lower the vehicle to the ground using the jack. Once the vehicle is on the ground, use the torque wrench to re - check the lug nut torque.
Step 13: Check the Steering Alignment
After replacing the tie rod end, it's highly recommended to have your vehicle's steering alignment checked and adjusted if necessary. A proper steering alignment ensures that your vehicle drives straight and that your tires wear evenly. You can take your vehicle to a professional alignment shop or use an alignment kit if you have the necessary skills and experience.
Step 14: Test Drive
Take your vehicle for a short test drive to make sure everything feels normal. Pay attention to how the steering responds and if there are any unusual noises or vibrations. If you notice any issues, stop the vehicle and re - check your work or consult a professional mechanic.
Additional Considerations
- Compatibility: As mentioned earlier, it's crucial to choose tie rod ends that are compatible with your vehicle. Using the wrong tie rod ends can lead to poor steering performance and even safety hazards.
- Inspection: While you're replacing the tie rod end, it's a good idea to inspect other components of the steering and suspension system, such as the ball joints and control arms. If you notice any signs of wear or damage, it may be a good time to replace those components as well.
- Safety First: Always follow proper safety procedures when working on your vehicle. Use jack stands for support, wear safety glasses, and be careful when using tools.
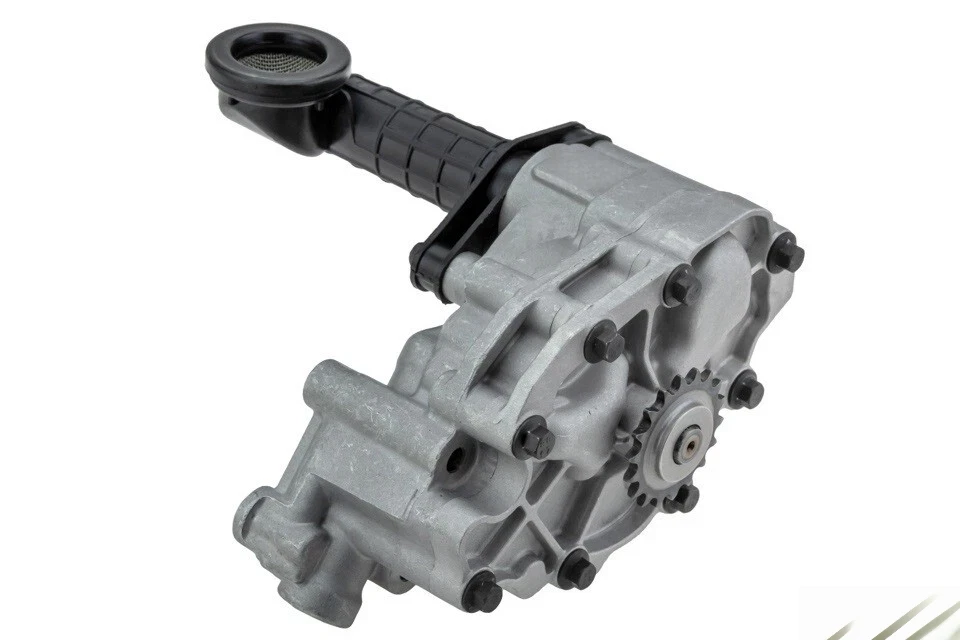
At our company, we not only provide high - quality tie rod ends but also offer a wide range of other auto parts. For example, if you're in the market for a hydraulic gear pump for your tractor, we have the Hydraulic Gear Pump for Tractor Auto Parts 83957379 D8nn600AC E0nn600ab E0nn600AC. And for Citroen owners, we have the Oil Pump 9807727980 9809524280 For Citroen C4, C5, Dispatch, DS4, DS5, Relay 2.0 & 2.2 HDi DW10 & DW12. We also offer a Hydraulic Gear Pump 8.8/1.8ml/R for Log Splitter.
If you're interested in purchasing tie rod ends or any of our other auto parts, we encourage you to reach out to us for a purchase negotiation. Our team of experts is ready to assist you in finding the right parts for your needs and providing you with the best possible service.
References
- Haynes Repair Manuals
- Chilton's Auto Repair Manuals
- Vehicle manufacturer's service manuals